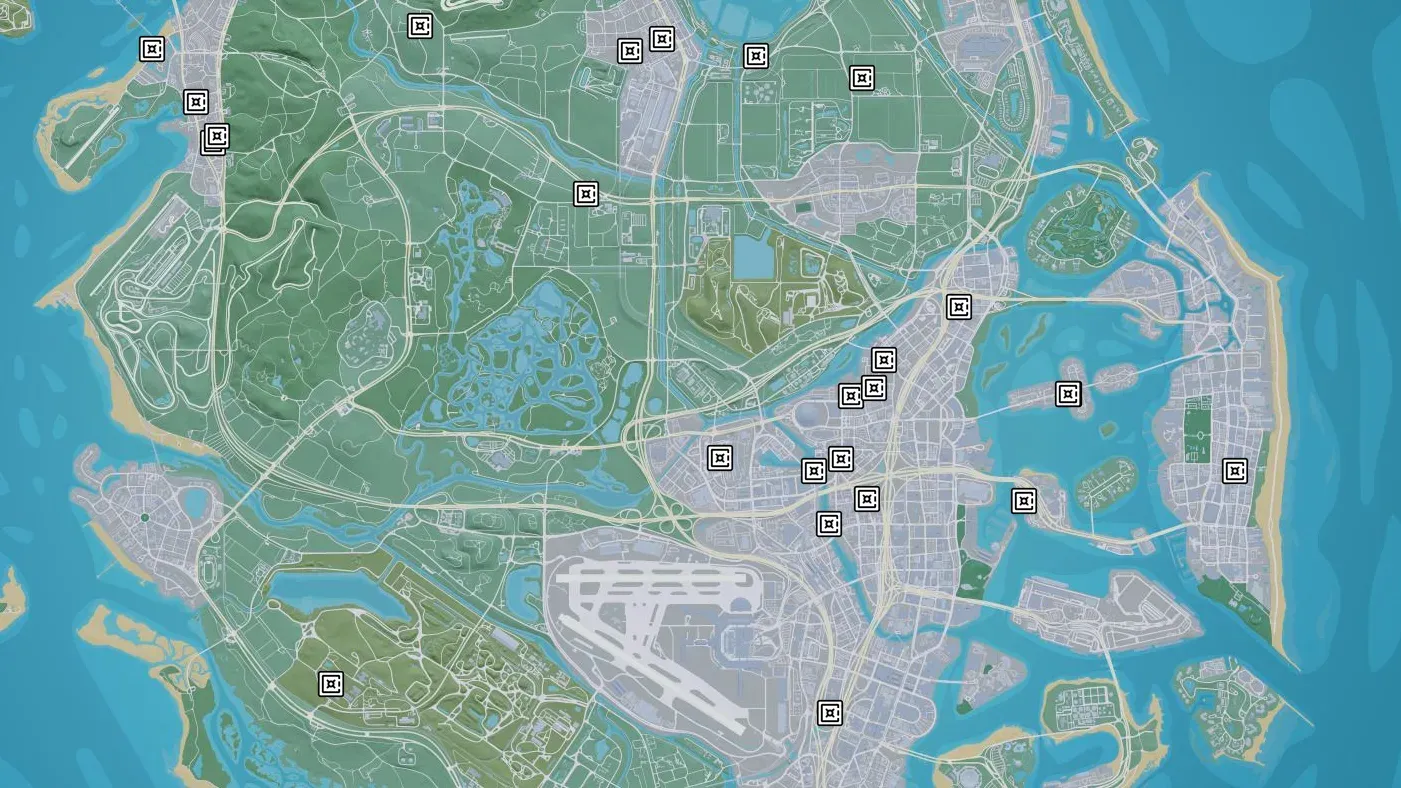
There are 40 safes on the GTA 6 map, and you open each one by entering its code, picking it if it’s a smaller safe, or blowing it open with sticky bombs, which Ammu-Nation only sells after the Credit Check mission in chapter 3. Most safes sit inside businesses you can rob, so treat every safe as part of a robbery: masks on, cameras dealt with, exit planned.
Open every safe on the interactive map
Where the safes are
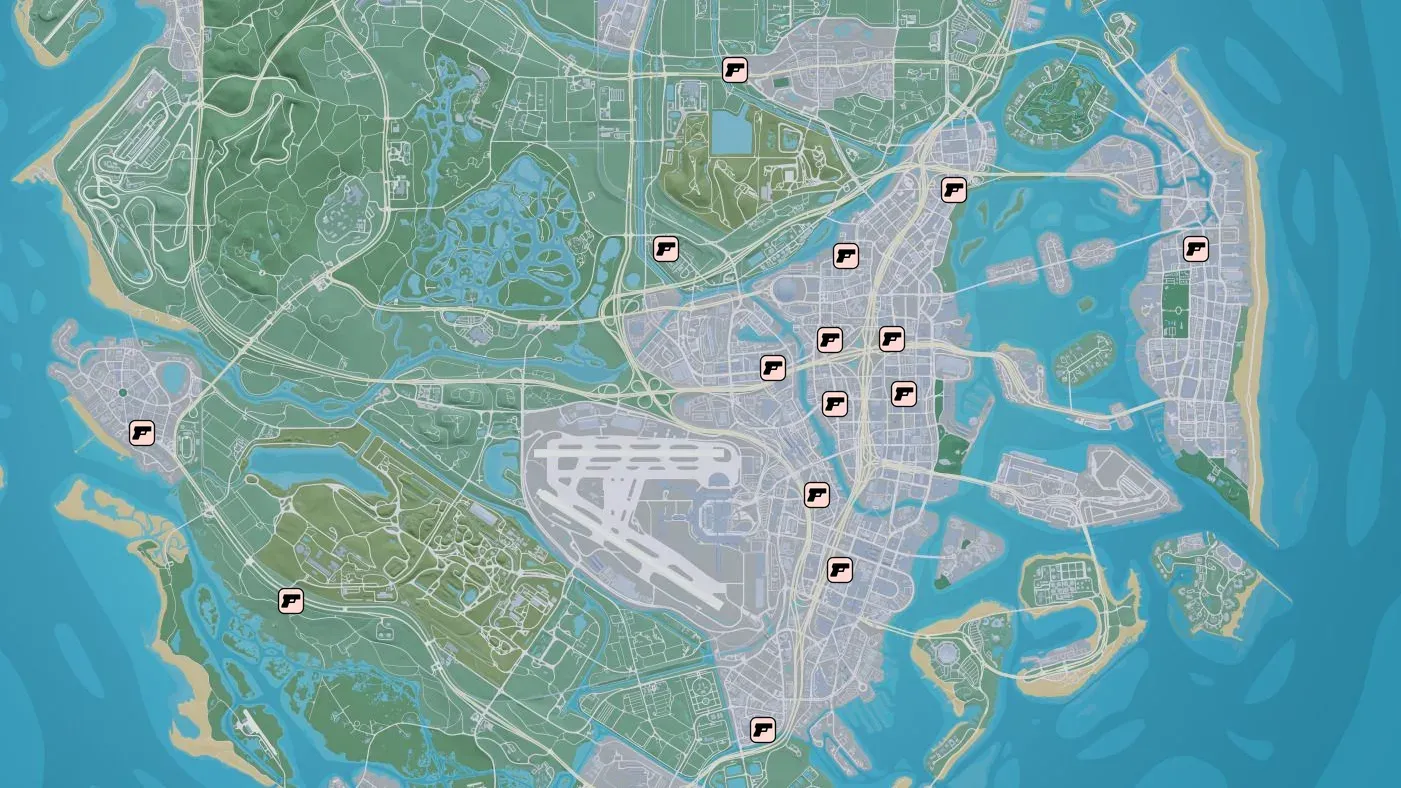
The map marks 40 safes. Most of them are in and around Vice City on the east side of the state, with smaller groups in the towns along the west and southwest coasts, a handful inland and one on the Keys. They are part of the map’s Robberies group, next to the banks, jewelry stores and shops you can rob, because opening a safe is usually part of a robbery.
Before you go in, open the map index with right on the d-pad and look under Robberies. Hovering over a target shows its potential score and the key valuables you can expect, which tells you whether a safe is worth the risk.
Three ways to open a safe
| Method | When you can use it | What it takes |
|---|---|---|
| Enter the code | Any time | Find the code somewhere nearby, or get it from someone who knows it |
| Pick the lock | Smaller safes and lockboxes | No code needed; lockboxes can simply be snapped open |
| Plant an explosive | From chapter 3 | Sticky bombs bought at Ammu-Nation after Credit Check |
1. Find the code
Codes are usually somewhere close to the safe, or close to the people who use it:
- On paper and screens. Look for sticky notes, notepads and computer screens near the safe. A note can also point you to another location where the code is kept.
- On staff and guards. Inside a bank, the safe code is sometimes known by the staff. Hold L3 and R3 to use Focus, which shows which staff members may know it. Downed guards can also give one up.
- Follow the hint. If the note by the safe mentions a place, go there. The Kingpin Bowling Alley safe (below) works this way.
Codes can change. Safe codes can be different from one save to another, and robbing the same business again can give a new code. A code you read online may not work in your game, so find the clue for yourself when the safe won’t open.
2. Pick it
Smaller safes can be picked without a code, and lockboxes can be snapped open. This is the quiet option for shop safes when you can’t find a code and don’t want to make noise.
3. Blow it open
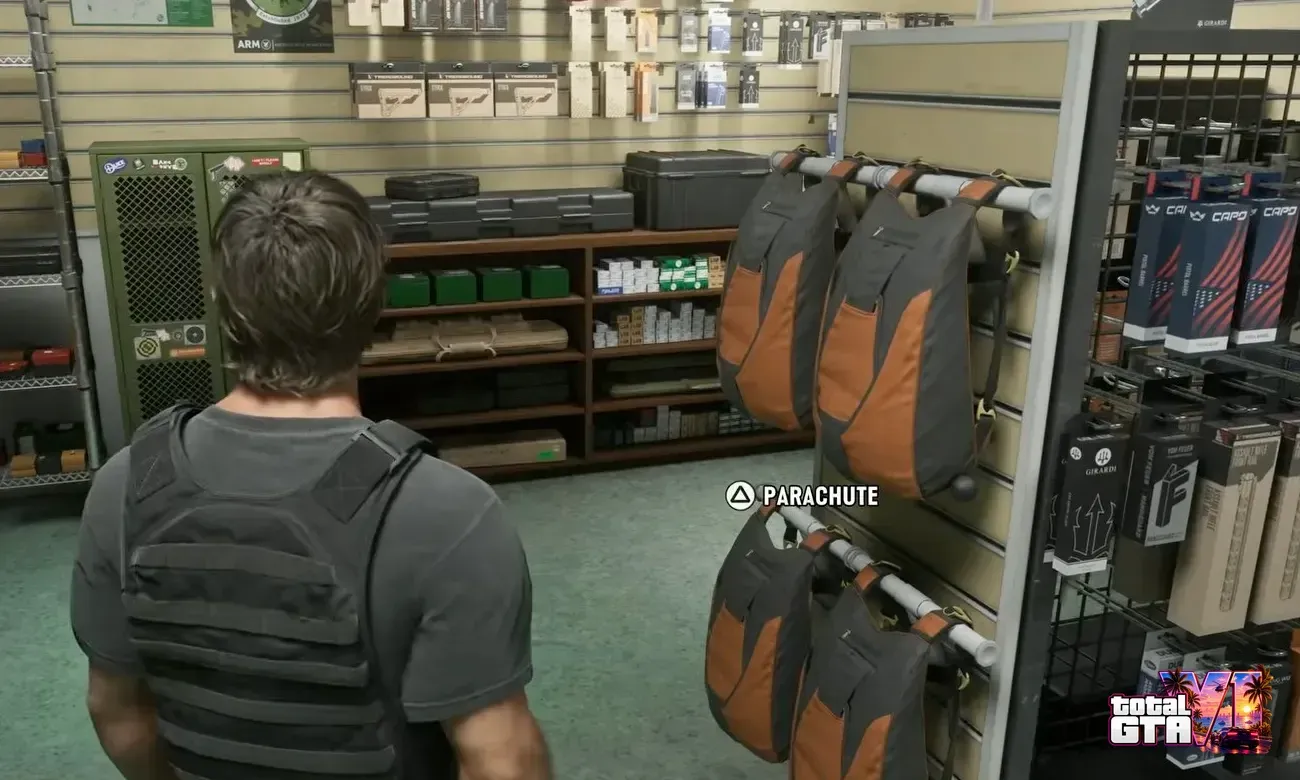
Walk up to a safe and you’ll see a Plant Explosive prompt next to Enter Code. Until you have the right explosives the option is greyed out. You unlock sticky bombs at Ammu-Nation once you reach the Credit Check mission in chapter 3. Explosions are loud, so expect the police to arrive sooner; our wanted level guide explains how the heat works.
Known safes and codes
| Safe | Code | Notes |
|---|---|---|
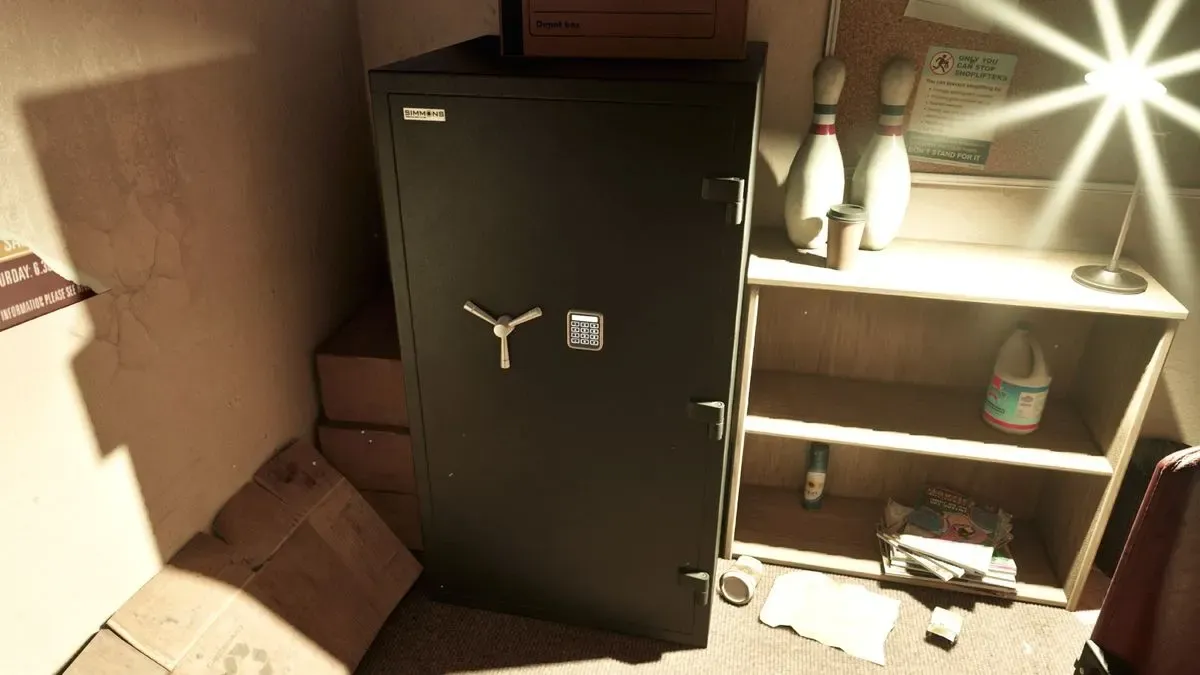
| Kingpin Bowling Alley | 0300 | The notepad by the safe points to Brooks Boatworks, where the code is on a map on an office wall |
| Delights office (Afternoon Delight) | 2008 | Story mission safe in Port Gellhorn; check the code on screen, as it can differ |
The Kingpin Bowling Alley safe. This safe sits in the office of a bowling alley held by the Kolt crew, so expect a fight there. The notepad next to it hints at Brooks Boatworks, another Kolt location. In the raised buildings on the east side of the boatworks, a map on the wall of an office shows the code, and two other safe codes as well. You can enter 0300 without visiting the boatworks first, or skip the code and blow the safe once you have sticky bombs. Take decent guns and as much Zombix as you can carry; both places are guarded.
Safes in banks and big jobs
Banks hold cash in their drawers, safes full of marked bills and, behind them, the vault. Marked bills are covered by dye packs, and without the Dye Pack Jammer you get in Credit Check the dye ruins the cash, so robbing bank safes before that mission isn’t worth it.
Story heists use a separate safecracking routine with a drill, a cable camera and holding the door. You learn it on a practice safe in Safe Word and use it for real in The Cartel Heist.
Tips for safe robberies
- Go in through the back. Put on a mask, destroy the camera recordings, disable the alarm, then crack the safe. Focus shows alarm-wired doors in red.
- Leave the clerk alive. Killing staff brings the police faster, and the cameras and witnesses report you.
- Sell the loot. Jewelry, marked bills and narcotics from a safe only turn into money once you take them to a fence. Brian’s Lockup is the first, and the pay arrives in your mailbox later.
- Bring your partner for guarded safes in gang hideouts.
Common questions
How do you get sticky bombs in GTA 6?
Ammu-Nation starts selling them once you reach Credit Check in chapter 3. Before that, the Plant Explosive option on safes stays greyed out. See our Ammu-Nation locations for where to buy them.
What do you do with marked bills from a safe?
Sell them to a fence that buys marked bills, such as Brian. You need the Dye Pack Jammer from Credit Check first, or the dye packs ruin the cash. In the map index, the Robberies section lists your fences under Drop-offs – Goods, with what each one pays, from very low to very high. Our money guide covers the fences.
How do you lose the police after robbing a safe?
Change what they know about you: swap or respray the car, change your clothes, adjust your hat and glasses, and split up if they saw two of you. Footage stored on site has to be destroyed. Our wanted level guide goes through each heat icon.
Related pages
 GTA 6 robbery locations
 GTA 6 wanted level and police explained
 How to make money fast in GTA 6
 GTA 6 interactive map
Sources
Questions and comments
No comments yet. Ask a question or share a tip.